How to Install WordPress Manually? To install WordPress manually, follow these steps:
Install WampServer and set up a localhost server on your computer
To install WampServer and set up a localhost server on your computer, follow these steps:
- Download WampServer: Visit the official WampServer website at www.wampserver.com and download the latest version of WampServer compatible with your operating system (Windows).
- Run the installer: Once the download is complete, run the WampServer installer. You may encounter security warnings during the installation process, but you can proceed by allowing the installer to make changes to your system.
- Choose the installation directory: Select the destination folder where you want to install WampServer. The default location is typically
C:\wamporC:\wamp64, but you can choose a different directory if desired. - Select additional components: During the installation, you may be prompted to choose additional components such as Apache, MySQL, and PHP versions. It’s recommended to stick with the default selections unless you have specific requirements.
- Configure WampServer: After the installation is complete, you’ll be prompted to choose the default browser to be used with WampServer. Select your preferred browser and click “Next.”
- Create a MySQL password: In the next step, you’ll be asked to create a password for the MySQL root user. Enter a secure password and remember it, as you’ll need it later for database access.
- Complete the installation: Once the configuration is finished, click “Next” to complete the installation process. WampServer will start automatically after the installation is complete.
- Access the WampServer control panel: Look for the WampServer icon in your system tray (near the clock) or search for “WampServer” in your Start menu. Click on the WampServer icon to open the control panel.
- Start the server: In the WampServer control panel, click on the “Start All Services” option. The icon should turn green, indicating that the server is running.
- Test the localhost server: Open your web browser and navigate to
http://localhost/orhttp://127.0.0.1/. If you see the WampServer homepage or a “WampServer Homepage” message, it means your localhost server is up and running successfully.
You now have WampServer installed on your computer, and you can start developing and testing web applications locally using Apache, MySQL, and PHP. You can place your website files in the www directory within the WampServer installation directory (C:\wamp\www or C:\wamp64\www), and they will be accessible through the localhost server.
Download the latest version of WordPress
Visit the official WordPress website at wordpress.org and click on the “Download WordPress” button to get the latest version of WordPress in a ZIP file.
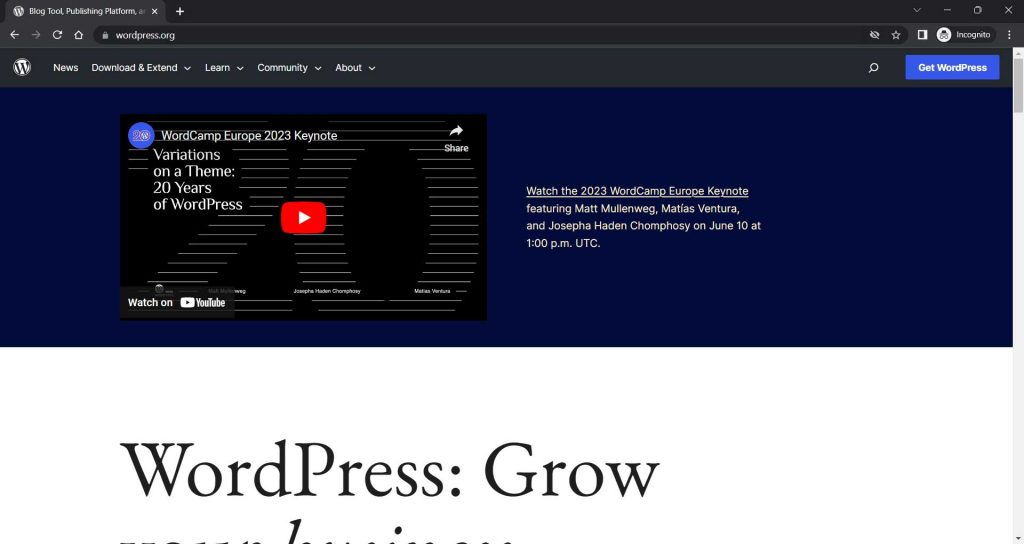
Extract the WordPress files
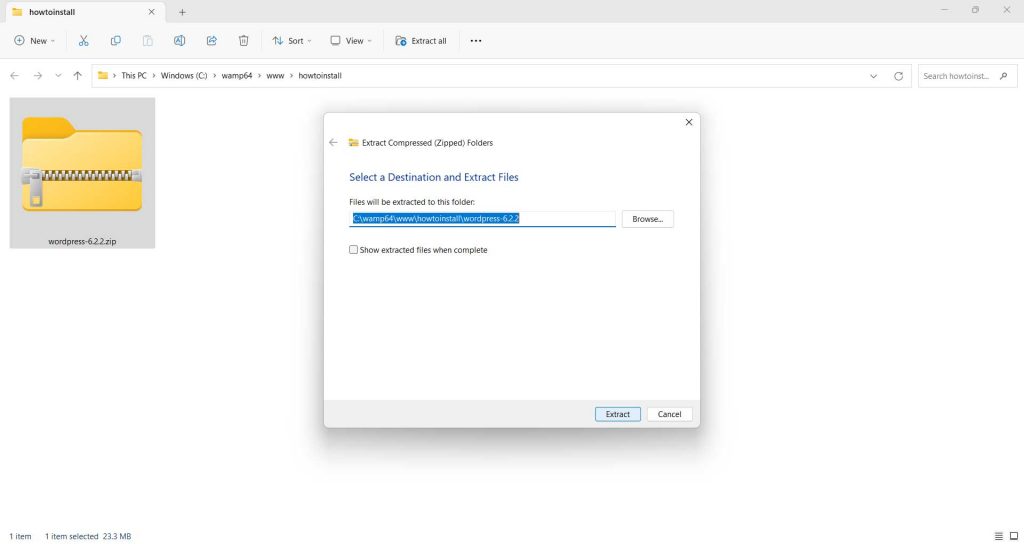
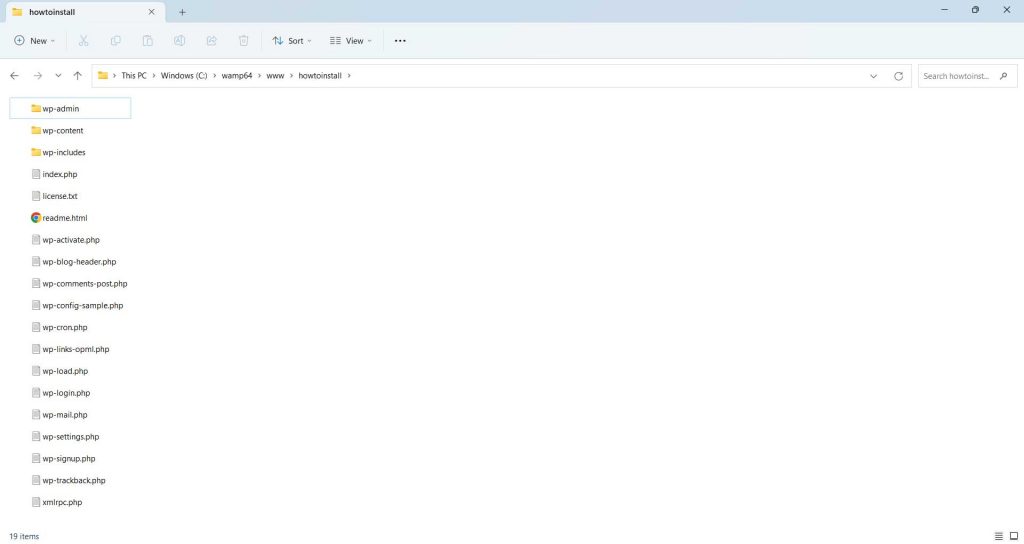
After the download is complete, extract the contents of the ZIP file to a folder on your local machine (C:\wamp64\www\howtoinstall) in my case.
Create a database
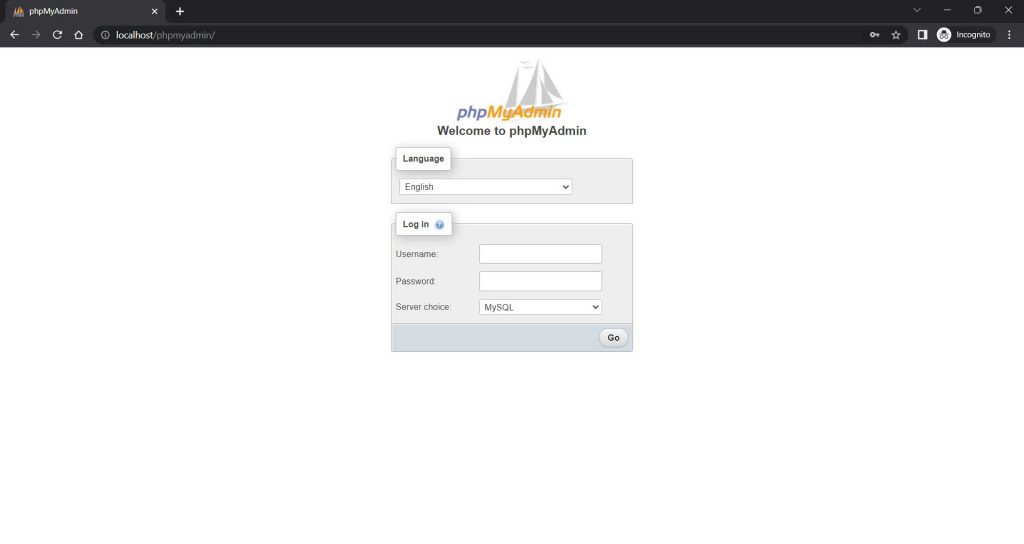
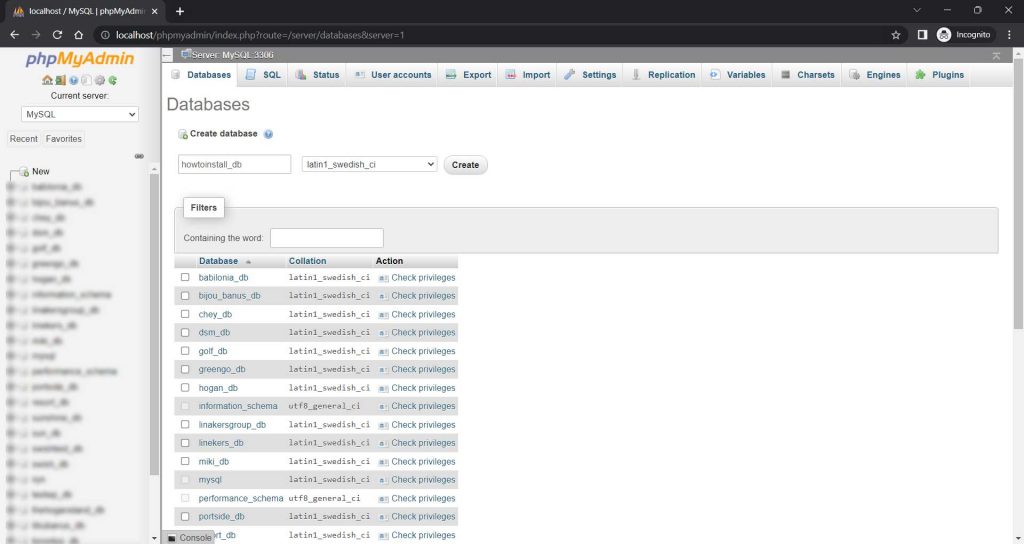
WordPress requires a database to store its data. Create a new database using a tool like phpMyAdmin or the command line interface of your database management system. Take note of the database name, username, password, and host as you’ll need them during the installation process. (Localhost: if user and pass are not set: User: root; Password: leave empty;)
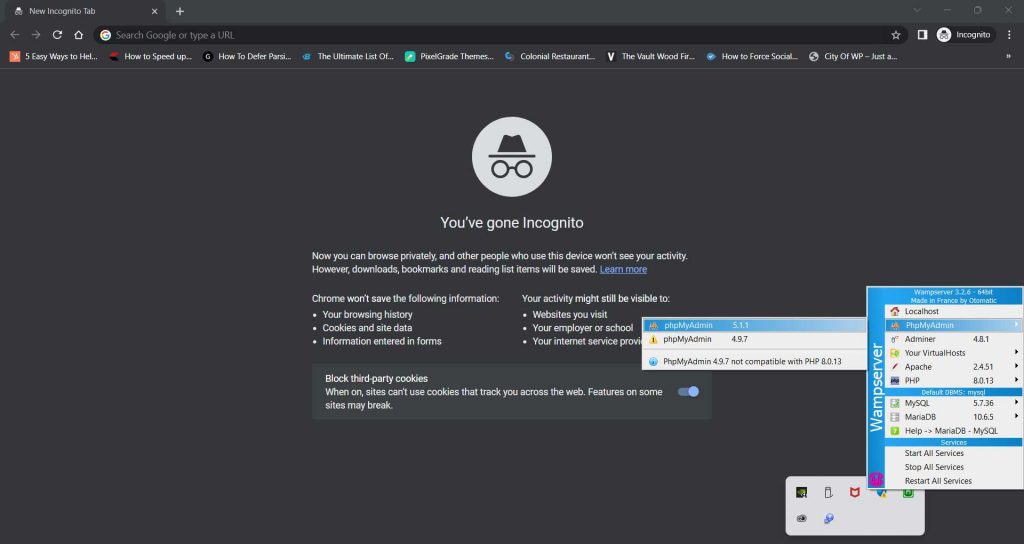
Login > User and Password
New > add Database name > click Create.
Configure the wp-config.php file
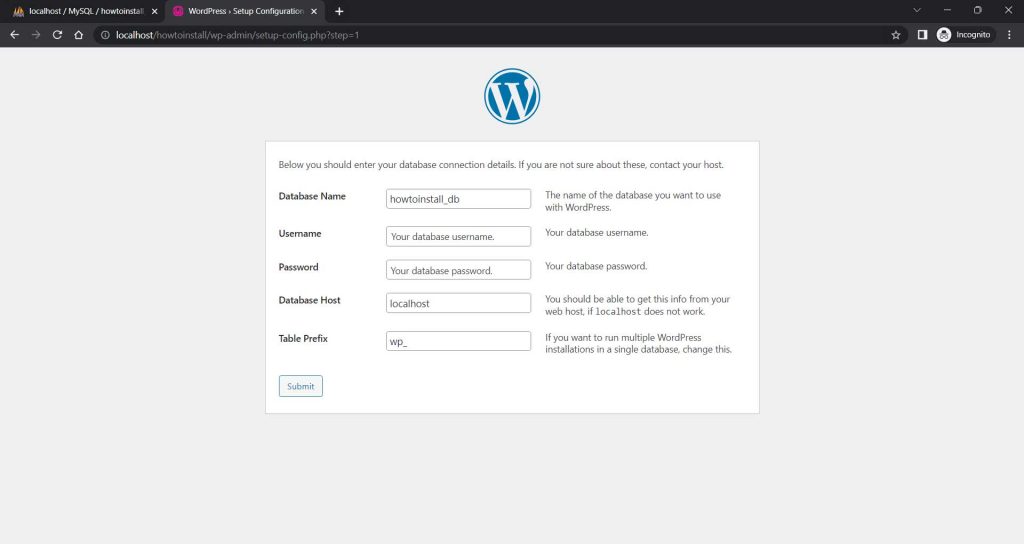
In the extracted WordPress folder, locate the wp-config-sample.php file and rename it to wp-config.php. Open the wp-config.php file in a text editor and enter your database information (database name, username, password, and host) in the appropriate fields. Save the file.
define('DB_NAME', 'database_name_here');
define('DB_USER', 'username_here');
define('DB_PASSWORD', 'password_here');
define('DB_HOST', 'localhost');
Upload the WordPress files
Now, you need to upload the WordPress files to your web server. You can use an FTP client like FileZilla or a file manager provided by your hosting provider. Connect to your server using the FTP credentials and navigate to the directory where you want to install WordPress (usually the root directory or a subdirectory).
If you want to install WordPress in the root directory (e.g., https://example.com/), upload all the extracted files and directories directly to the root directory.
If you want to install WordPress in a subdirectory (e.g., https://example.com/blog/), create a subdirectory within the root directory (e.g., blog) and upload the files and directories there.
Run the WordPress installation script
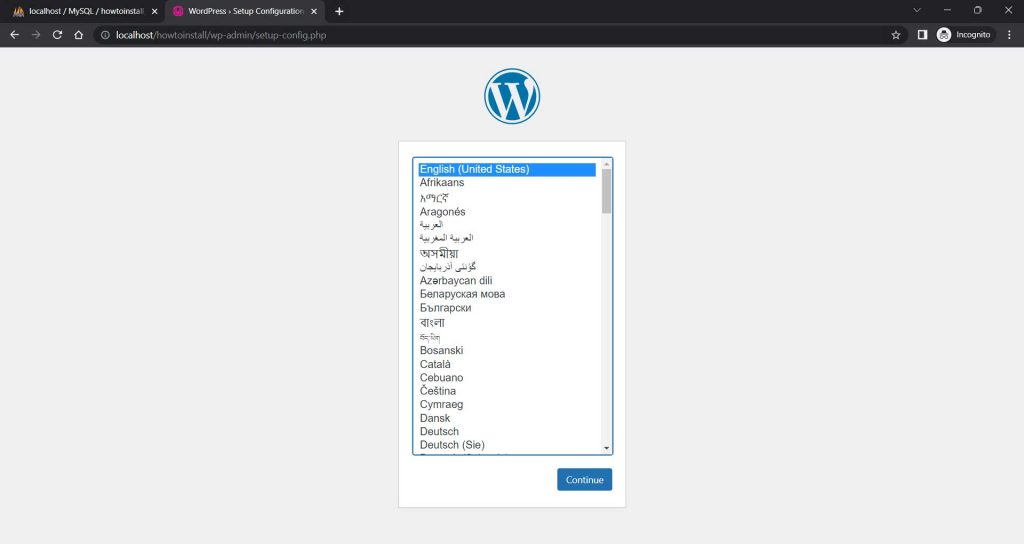
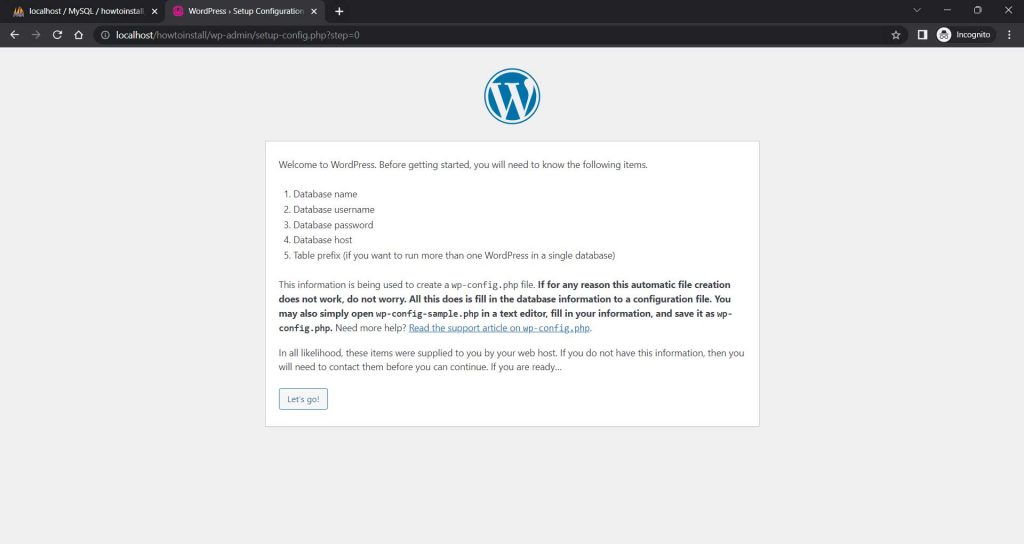
Open a web browser and navigate to the location where you uploaded the WordPress files (e.g., https://example.com/ or https://example.com/blog/) in my case (http://localhost/howtoinstall/). You should see the WordPress installation page. Select your preferred language and click on the “Continue” button.
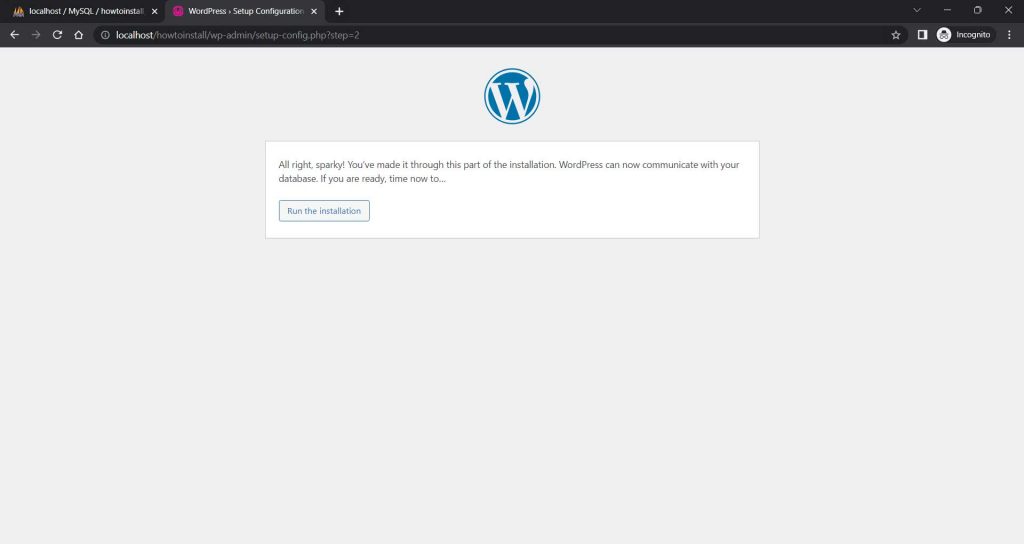
Complete the installation
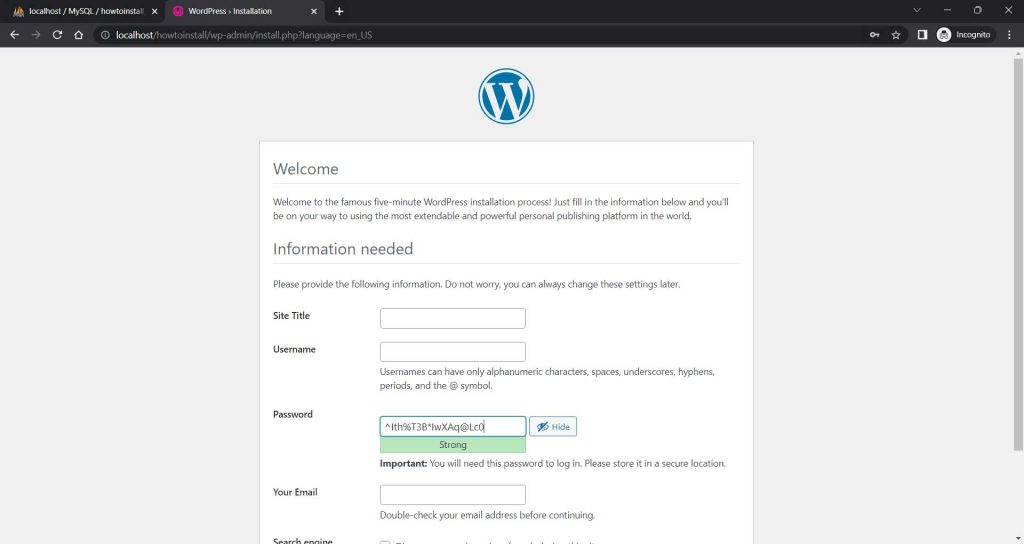
On the next screen, you’ll be prompted to enter the site title, choose a username and password for the admin account, and provide an email address. Fill in the required information and click on the “Install WordPress” button.
Finish the installation
WordPress will now set up your website and install the necessary files. Once the installation is complete, you’ll see a success message. Click on the “Log in” button to access the WordPress admin dashboard.
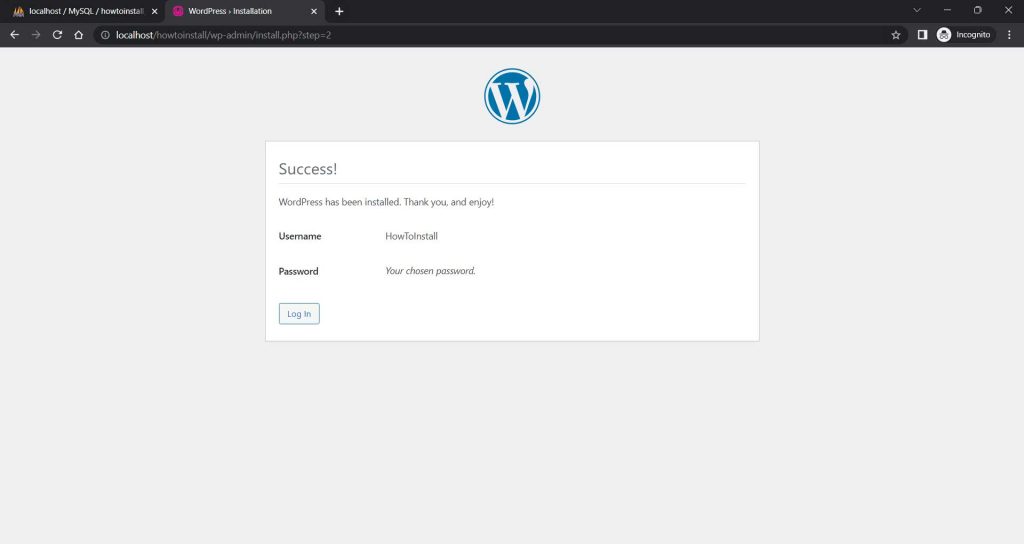

That’s it! You have manually installed WordPress on your web server. From the admin dashboard, you can customize your website’s appearance, install themes and plugins, and start creating content.