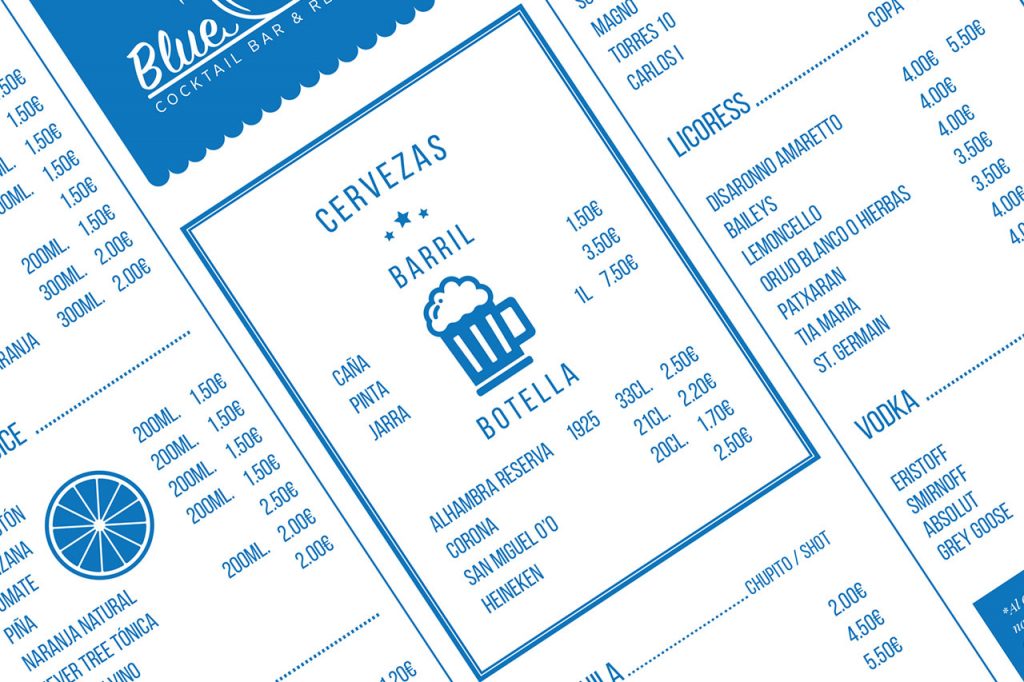
Once you’ve got your professionally designed Microsoft Word menu template, it’s time to customize it to fit your restaurant. In this next section, we’re going to cover five quick and easy steps that you can take to create a menu from your template.
For this menu design tutorial, we’ll be using the premium template, Food Menu.

This is a clean and stylish-looking menu that can be used for all types of restaurants and cafes.
How to Create a Restaurant Menu?
Let’s get started:
1. Change the Color Scheme
This template features a gray and black color scheme. We’d like to change it to fit our restaurant’s brand. The main highlight color for our restaurant is blue. Let’s change the rectangle shapes on this menu to that color.
First, click the edge of the gray rectangles so it’s highlighted. This brings up the Shape Format menu header. Select the Shape Fill option. Now select our blue color and the shape will be colored blue. Repeat this process for all the gray shapes on the menu.

2. Add In Your Menu Items
Let’s add our menu items by editing the placeholder menu items that came with the template. This is a very simple and easy process.
Double-click the text that you’d like to edit and add to your restaurant’s menu items.

3. Change Font Sizes
Our menu is starting to take shape. But we’d like to make the design seem a little more spacious. To do this, we’ll adjust the font size of the menu items.
Double-click on each block of text and select all the text. Then navigate to the Home tab and choose the font size to the right of the font selector. Decrease the font by 3 px. That’ll open up more room for our design.

4. Add Social Media Icons
To let our customers know that we’re on social media, we’ll add social media icons at the bottom of our menu with our social media handles.
To add in an icon, choose the Insert menu option. Then select Pictures and choose the Picture From File… option. Select the social media icons to add from your computer.
You can download social media and many other icons from Envato Elements. Next, we’ll add our social media handles by adding a Text Box from the Insert menu tab. Resize it to fit under our icon. Then type our social media handle into the text box.

5. Double Check Your Menu
Before you print out copies for your restaurant, double-check all your menu items, their prices, and all the other contact information on the menu. This is important as you don’t print out a few hundred copies of a menu with incorrect information.
Once you’ve double-checked all your information and it’s correct, print out your menu by clicking on the Print icon on the top left-hand corner of Word. From there you can adjust the number of copies that you’d like to print.

Now let’s have a look at a few quick tips on how to make great restaurant Menus.
5 Quick Tips to Make Great Restaurant Menus in Word for 2024
The premium restaurant menu templates give you a great starting point for creating a professional-looking menu. But you’ll want to do further customization to make the template unique for your restaurant.
To help you get the most out of the Microsoft Word menu templates, I’ve gathered five quick tips to make great restaurant menus in Word for 2024:
1. Include Item Prices
Depending on the design template that you choose to use, consider having the price of each item under the description. By placing the prices in a far-right column, your diners may select menu items based on price and not what they really want. Having the price under the description helps avoid this.
2. Don’t Clutter the Menu
A cluttered menu will make your restaurant look disorganized and professional. Make sure to leave plenty of space around the different sections of your menu as well as in between the menu items. Including this extra space makes the design seem modern and is easier to read.

3. Choose an Easy to Read Font
A sub-par dining experience is sure to ensue if your diners have a hard time reading the fonts on your menu. While many of the fonts used in the free templates feature easy-to-read fonts, some don’t. A few free, elegant, and easy-to-read fonts to use are Helvetica, Open Sans, and Roboto.

4. Use Shapes to Segment Your Layout
Shapes such as squares, lines, and triangles can be very effective for separating the different sections of your menu. This helps create distinct sections such as main courses, appetizers, and desserts. Using these shapes as well in combination with the space left between each section and your menu items makes the menu very easy to navigate.

5. Use Complementary Colors
Complementary colors will help add another dimension to your menu. Use the complementary colors on headers and specific menu items. By leaving the font color of the description and price black, you allow the complementary colors that you chose for the menu to pop out. Choose complementary colors that fit with your business’s color scheme.
Published first on: tutsplus.com
